
6 Spooky & Simple DIY Halloween Decor
Cheers to an affordable Halloween this 2025!
SEASONALHALLOWEEN
10/14/20254 min read
Halloween is creeping up, and what better way to embrace the spooky season than by whipping up your own ghoulish decorations? Whether you're throwing a haunted bash or just want to give your home a touch of eerie elegance, these DIY projects will send shivers down your spine...without sending your wallet into the grave! So grab your crafting supplies, summon your creativity, and let’s brew up some budget-friendly Halloween magic!
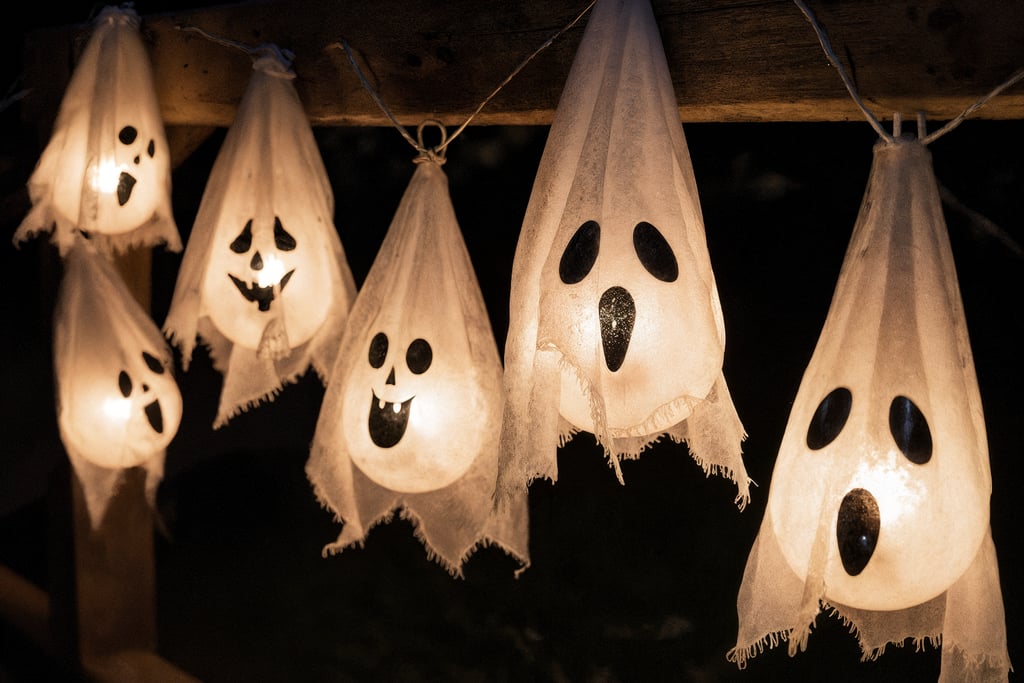
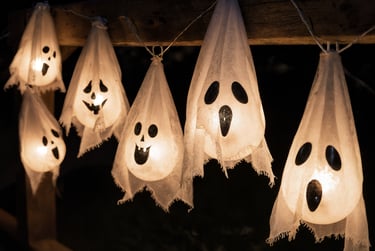
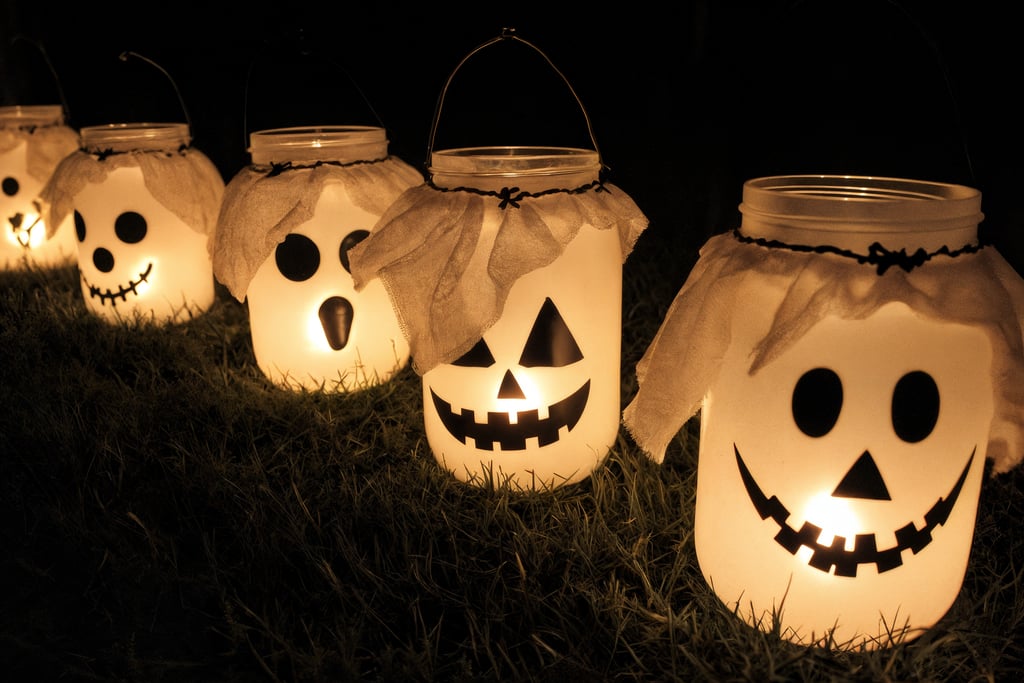
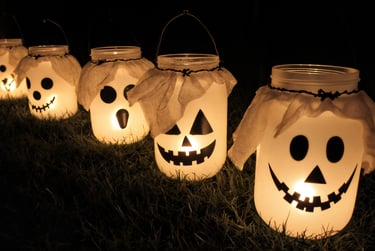
1. DIY Ghost Lanterns/Jars
What You’ll Need:
White lanterns or glass jars
LED tea lights
Black permanent marker
Cheesecloth or white muslin fabric
Twine or string (optional)
Scissors
Steps:
Choose Lanterns: Select white lanterns or clean glass jars as your base.
Draw Faces: Use a black marker to draw spooky faces on each lantern or jar.
Prepare Cheesecloth: Cut the cheesecloth into squares (12-18 inches) based on your desired drape and the size of your base.
Drape Fabric: Place the cheesecloth over each lantern or jar, allowing it to fall loosely. Gather at the top for a defined "head" if desired.
Secure Fabric (Optional): Tie off the gathered fabric with twine to secure it.
Insert LED Tea Lights: Place an LED tea light inside each lantern or jar for safe illumination.
Display: Arrange your ghost lanterns by hanging them or placing them on your walkway, porch or table.
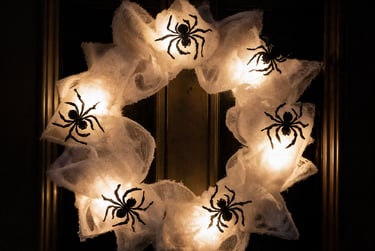
2. DIY Spooky Spider Wreath

What You’ll Need:
Foam or twig wreath base
White gauzy fabric or cheesecloth
Black faux spiders
LED string lights (optional)
Hot glue gun and glue sticks
Scissors
Steps:
Prepare the Base: Start with a foam or twig wreath base. Wrap gauzy fabric around the twig base for texture, or cover the foam base.
Cut Fabric: Cut the fabric into 4-5 inch wide strips (depending on the size of your base), paste it loosely on the wreath until you achieved your desired look. Secure ends with hot glue gun if needed.
Add Spiders: Attach black faux spiders to the fabric using hot glue, positioning them creatively.
Incorporate Lights (Optional): Weave LED string lights through the fabric and secure with hot glue for added glow.
Hang Your Wreath: Once everything is secure, hang your spooky spider wreath on your door or a prominent spot.
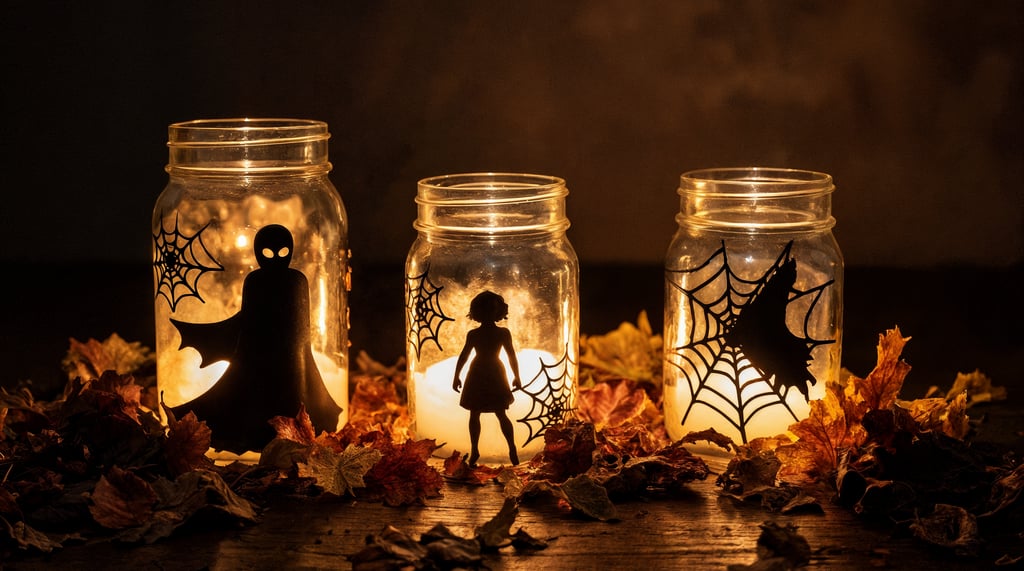
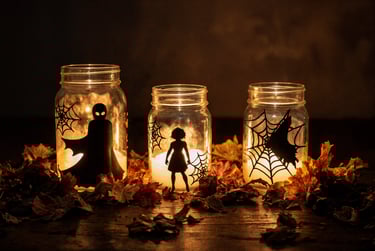
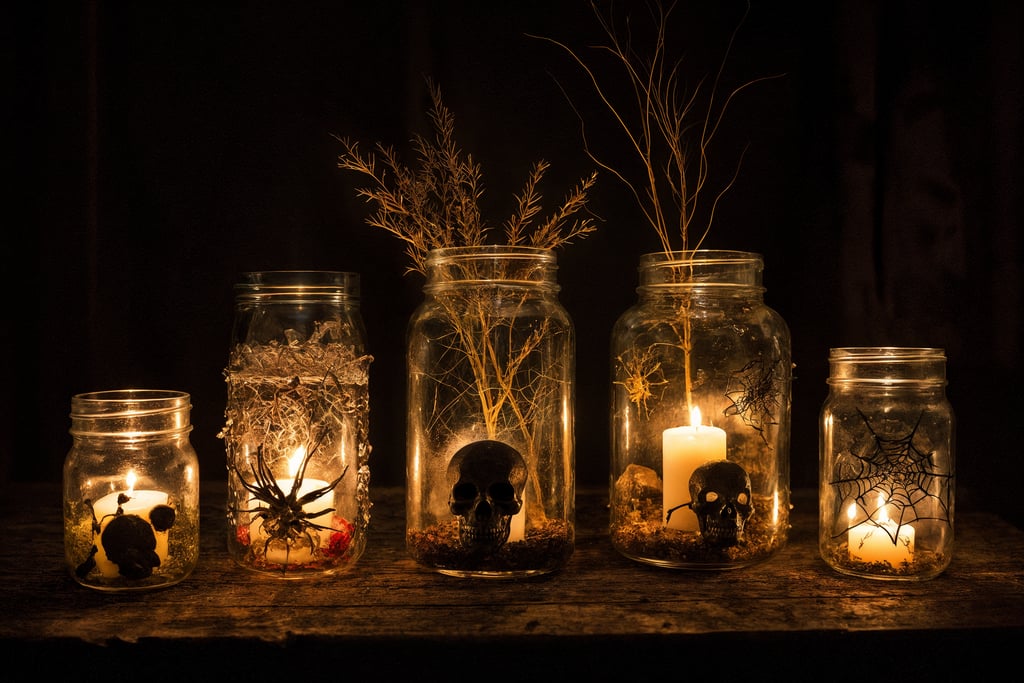
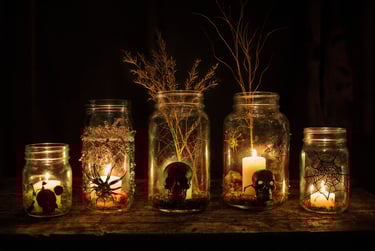
3.DIY Halloween Jar Centerpiece
What You’ll Need:
Clear mason jars (various sizes)
LED Candles (safer option)
Decorative fillers (e.g., faux spiders, skulls, dried flowers, or artificial cobwebs)
Pebbles or sand (for base)
Twine or ribbon (optional for embellishment)
Steps:
Choose Your Jars: Select clear mason jars in different sizes to create visual interest.
Prepare Fillers: Gather decorative fillers like faux spiders, skulls, dried flowers, or artificial cobwebs.
Layer the Base: Pour a layer of pebbles or sand at the bottom of each jar to provide stability for the candle and create an earthy look.
Add Decorative Elements: Place the fillers inside the jars, arranging them around the candles. You can mix and match items to create a spooky effect.
Insert Candles: Place a LED candle into each jars.
Embellish (Optional): Wrap twine or ribbon around the necks of the jars for added charm.
Arrange Your Centerpiece: Group the jars together on a table or mantel, varying the heights for a more dynamic display.
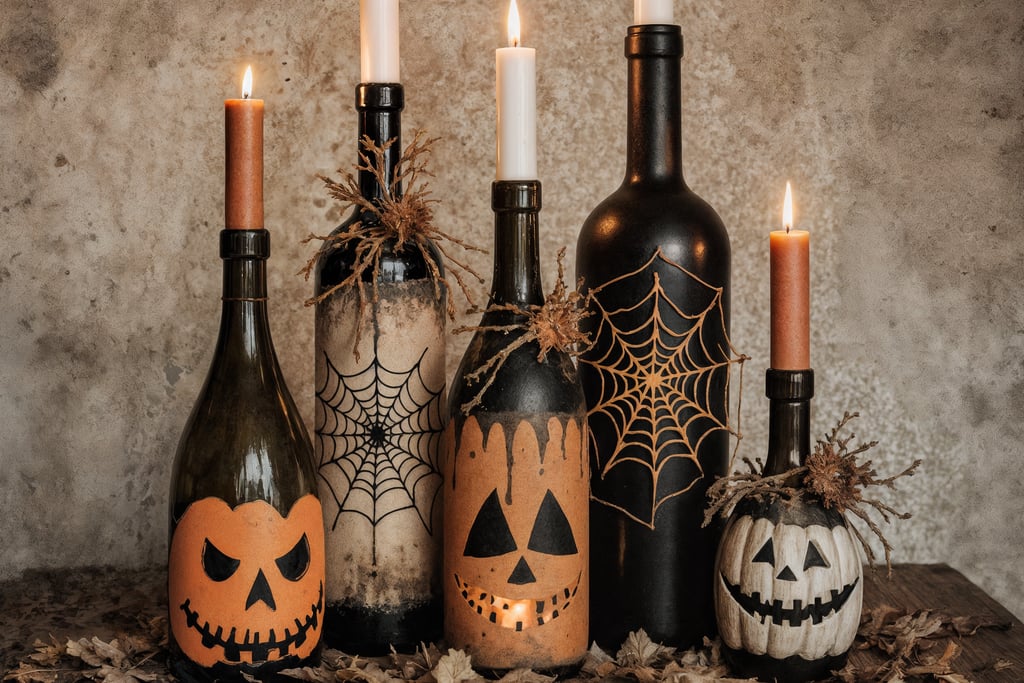
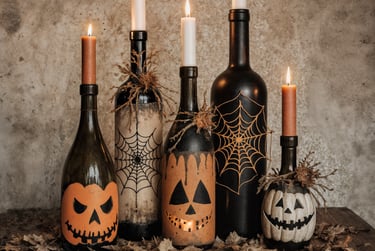
4.DIY Halloween Glass Bottles
What You’ll Need:
Empty glass bottles (wine bottles)
Black and orange acrylic paint
Paintbrushes
Black marker or paint pen
Twine or burlap or black ribbon (optional)
Fake spider webs (optional)
Candle sticks (optional)
Steps:
Prepare: Clean and dry your bottles, then lay down newspaper to protect your workspace.
Paint: Cover some bottles with black paint and others with orange paint for jack-o’-lanterns. Let them dry.
Decorate: Draw spooky faces on the orange bottles with a black marker. Add spider webs to the black bottles if desired.
Embellish: Wrap twine, burlap or black ribbon around the necks of the bottles and secure with a knot.
Insert Candles: Place candle sticks in the bottles for added ambiance.
Display: Arrange your decorated bottles together on a table or mantel for a festive Halloween look.
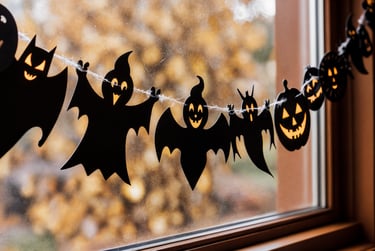
5.DIY Halloween Garland

What You’ll Need:
Black construction paper
Scissors
String or twine
Hole punch
Black marker (optional for detailing)
Steps:
Cut Out Shapes: Using scissors, cut spooky shapes from the black construction paper, like bats, ghosts, and pumpkins.
Add Details: If desired, use a black marker to add faces or designs to your cutouts for extra flair.
Punch Holes: Use a hole punch to create holes at the top of each shape.
String the Shapes: Cut a length of string or twine. Thread each shape onto the string, spacing them evenly.
Hang Your Garland: Once all shapes are strung together, hang your garland across a window, mantel, or wall.
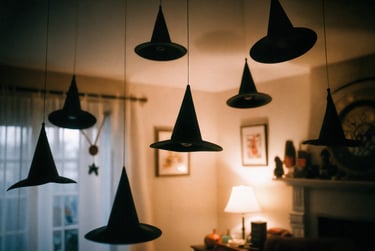
6.DIY Witch Hat Decor

What You’ll Need:
Black construction paper or cardstock
Scissors
String or fishing line
Tape or glue
Steps:
Create Hats: Cut out a large circle (10 inches) for the brim and a triangle (8 inches tall) for the hat. Roll the triangle into a cone and attach it to the brim.
Attach String: Tape a length of string to the inside of the brim for hanging.
Hang the Hats: Secure the other end of the string to a hook or tape it to the ceiling.
Arrange: Hang multiple hats at different heights.
© 2025 Style in Residence. All rights reserved.


About
The images featured on this site comprise licensed content, with certain visuals enhanced through AI assistance to enrich the reader experience and serve illustrative purposes, edited by Style in Residence.